Metaframes photography guide
How to create an EXIF photo frame for a photography portfolio
An EXIF photo frame can make a portfolio image more useful without making it feel technical. The right layout gives the camera settings their own space, keeps the photograph in control, and creates a presentation you can reuse across a project, client selection, or personal site.
Decide when metadata belongs in the portfolio
Metadata is most useful when it supports the story of the photograph: a focal length that explains the perspective, an aperture that matters to the depth of field, or an exposure choice that other photographers can learn from. It is not required on every image.
Use framed exports as a companion format for selected work, case studies, social previews, or downloadable project notes. Your unframed master can remain the primary version for a clean gallery or client delivery.
1. Finish the photograph before you frame it
Make all creative decisions first: choose the final crop, correct colour and tone, and complete retouching. A metadata frame is a presentation layer, not another editing stage.
Start with the highest-quality finished JPG. If you are working from an exported file, check that the important camera fields are still available; edited copies and messaging apps can remove them. Known values can be reviewed or entered manually before export.
2. Show only the settings that add context
For most portfolio frames, camera, lens, aperture, shutter speed, and ISO are enough. The capture date can help with a long-term project, while time can be useful for landscape, documentary, or low-light work.
Avoid showing every available field by default. A concise set of values gives the viewer a clear reading path and leaves room for the photograph. If a setting does not explain the image, it can stay in the file rather than the frame.
3. Match the layout to the image orientation
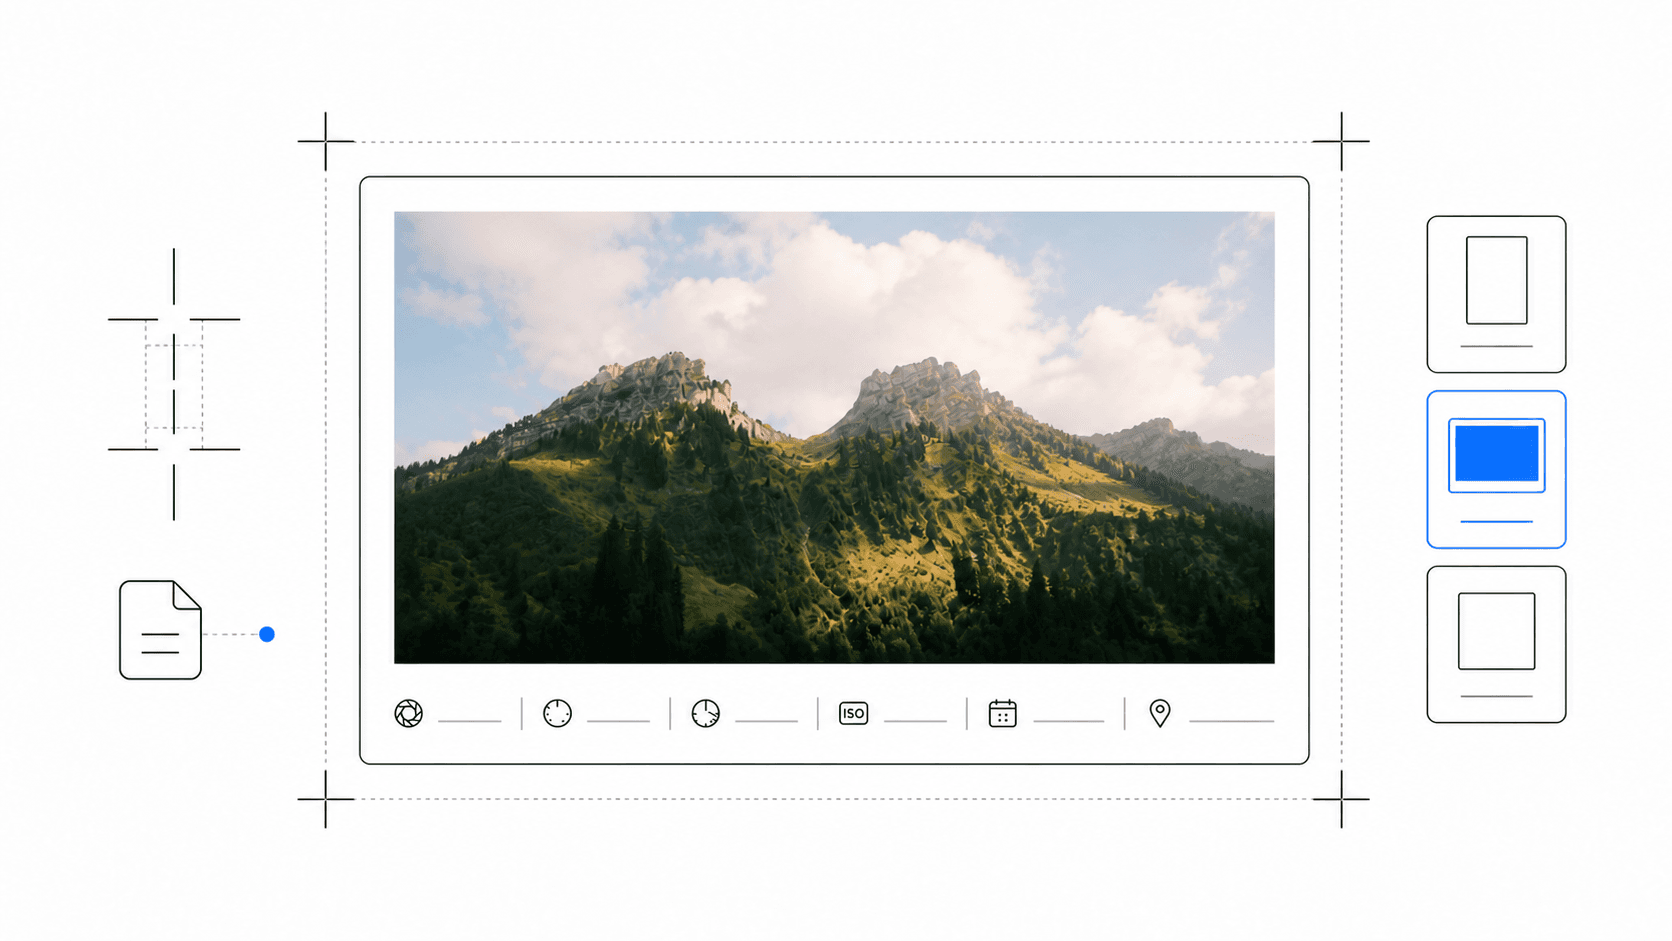
Landscape images often work well with a metadata rail below the photograph: it preserves the width of the image and creates a calm editorial rhythm. Portrait images can support a lower rail or a side layout when the composition needs more vertical space.
Keep the relationship between image and metadata consistent across a series. Repeated margins, type scale, and field order help viewers recognize the work as one project instead of a collection of unrelated exports.
4. Use the frame to create hierarchy, not decoration
The photograph should lead. Give it the largest visual area, then use the surrounding space to make settings readable but secondary. Fine separators and measured spacing are usually more effective than heavy borders, badges, or large symbols.
Choose a light layout for an editorial or gallery-like presentation. Use a dark layout when it improves contrast for monochrome, night, architectural, or high-contrast work. The best template supports the photograph rather than announcing itself.
5. Check the frame at the size people will see it
A layout that looks balanced on a large display can become too small on a phone. Inspect the export at mobile size, especially the lens name and exposure values, and make sure the border still gives the photograph enough room to breathe.
For a website or PDF, open the export at its intended display width. For print, leave generous margins and avoid very fine metadata that will disappear when the image is reduced. Clear information should never require zooming to read.
6. Export a reusable portfolio asset
Export JPG for a compact portfolio preview, a client selection, or a social post. Export PNG when you want a high-quality presentation master to place in a layout or archive alongside the original finished image.
Save the framed version with a clear suffix and keep the original edit untouched. A dependable file structure lets you use the same photograph in a clean gallery, a detailed case study, and a technical reference without recreating the work each time.