
Packtrail bikepacking guide
Bikepacking bag capacity: how many litres do you need?
There is no universal litre target for bikepacking. The right capacity comes from the conditions of the ride, the bulk of your sleep and shelter systems, and how much food and water you must carry between resupply points. Planning volume before packing avoids both overloaded bags and unused space.
Capacity is a system, not a magic number
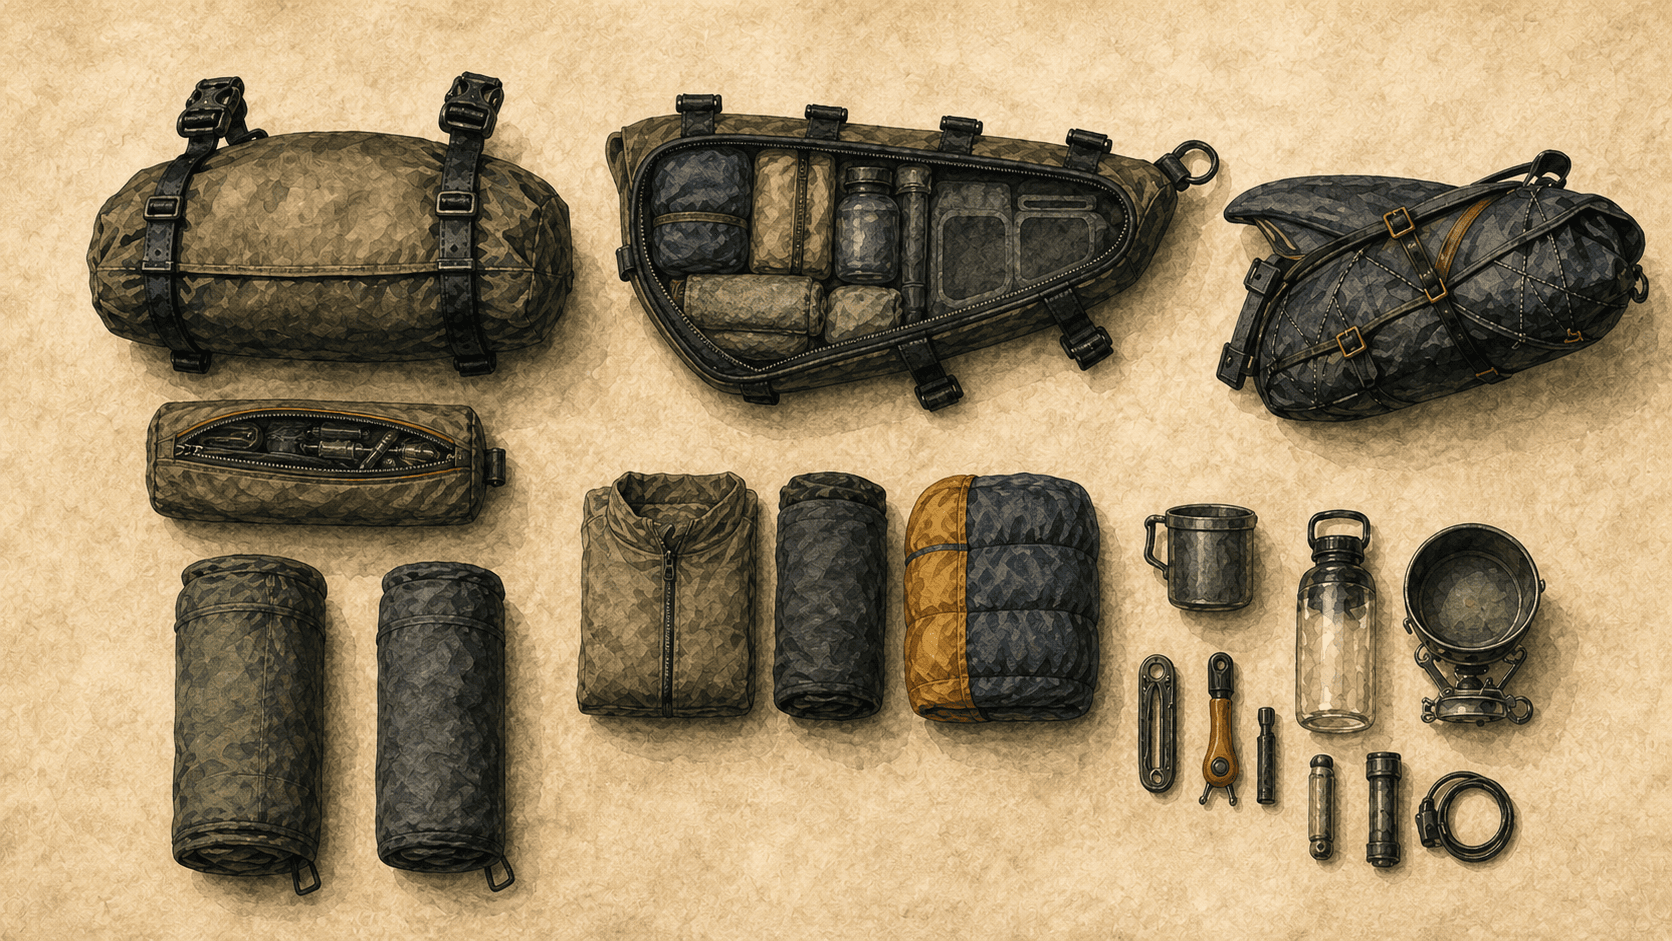
Bag capacity only becomes useful when it is considered as a complete system. A frame bag, handlebar roll, saddle bag, and small cockpit bags work together; the printed litre figure on one bag does not tell you whether your full loadout will fit or ride well.
Start with the equipment you actually need, then choose the storage that suits its shape. A compact dense tool kit needs very little volume, while a warm sleep system can be light but demand a large bag.
Let the trip decide the starting volume
An overnight with accommodation, a self-supported weekend, and a remote cold-weather route need very different space. Shelter, insulation, food carry, water capacity, and spare clothing usually change volume more than the distance alone.
Write down the expected low temperature, rain exposure, longest stretch without water, resupply plan, and sleeping arrangement before you compare bags. This turns capacity planning into a response to the ride instead of a guess based on other riders’ setups.
Estimate volume from the bulky systems first
Lay out your shelter, sleep system, insulation, cooking kit, and food for the longest carry. These pieces define the volume requirement because they cannot be compressed indefinitely and their shapes are hard to substitute later.
Keep bags only partly full during the first plan. A little usable space makes repacking easier, allows for food bought on route, and prevents fragile zips, seams, and straps from being stressed at every stop.
Choose each bag for the shape of its contents
Frame bags are useful for compact dense equipment such as tools, food, batteries, and cooking gear. Handlebar and saddle bags generally suit light, compressible items such as a quilt, clothing, or shelter components. Small cockpit bags are primarily for access, not maximum storage.
Use realistic usable capacity for your own bags. Tapered shapes, cable routing, bottle clearance, straps, and the items already inside the frame all reduce what a nominal litre number can hold.
Reserve capacity for food and water
Consumables are the moving part of every loadout. Food can occupy a surprising amount of space at the start of a multi-day ride, while water is both bulky and heavy. Plan around the longest reliable gap, not the average day.
Water storage must remain accessible and secure. Do not solve a volume shortage by putting dense water weight high or far behind the bike where it makes handling less predictable.
Check capacity together with handling and access
A setup can fit everything and still be awkward to ride. Keep compact heavy items near the centre of the bike, reserve the largest bags for bulky light gear, and leave snacks, layers, navigation, and small essentials within easy reach.
Before departure, confirm steering, tyre, heel, cable, and light clearance with the bags loaded. A bag system should have room for the gear and the movement of the bike.
Plan the real setup in Packtrail
Create the trip, add the bags you actually use, and record their capacities. Assign gear to each bag to see packed volume and weight by position before you start packing.
After the ride, update the setup with what fitted, what was hard to access, and what space went unused. A saved, proven bag plan is more useful than starting from generic litre recommendations every time.